

Key Takeaways
Why Price Alone Is a Misleading Signal
Most comparison shopping starts and ends with a number. But a lower sticker price can reflect cheaper materials, shorter warranty coverage, missing features, or higher long-term running costs — none of which are visible at the point of purchase. Focusing only on upfront cost is one of the most reliable ways to end up spending more over time.
Retailers also use psychological pricing strategies — such as price anchoring — to shape how deals feel. When a mid-range option sits between a cheap and a premium model, it often looks like the reasonable middle ground regardless of its actual value. Understanding how price anchoring influences spending helps you evaluate options on their merits rather than their positioning.
Effective comparison shopping requires a repeatable framework — one you apply before buying, not after buyer's remorse sets in.
What you will need
How to Compare Products Across What Actually Matters
The steps below give you a structured method for comparing any two or more products. They work equally well for appliances, tools, clothing, electronics, or everyday consumables. Use them alongside the pre-purchase checklist for a complete evaluation before committing to a purchase.
Define what you actually need the product to do
Before opening a browser tab, write down the specific jobs the product must perform and any hard limits — budget ceiling, size constraints, compatibility requirements. This prevents you from being swayed by features you will never use and keeps the comparison grounded in your real situation rather than marketing copy.
Calculate total cost of ownership for each option
Add up every cost you will realistically incur over the product's useful life: purchase price, installation or setup fees, consumables, maintenance, and any subscription required for full functionality. Divide by expected years of use to get an annual cost figure. This single number is often more revealing than the sticker price alone.
For a deeper look at this calculation, see the guide on the long-term cost of low-quality purchases.
Build a side-by-side comparison grid
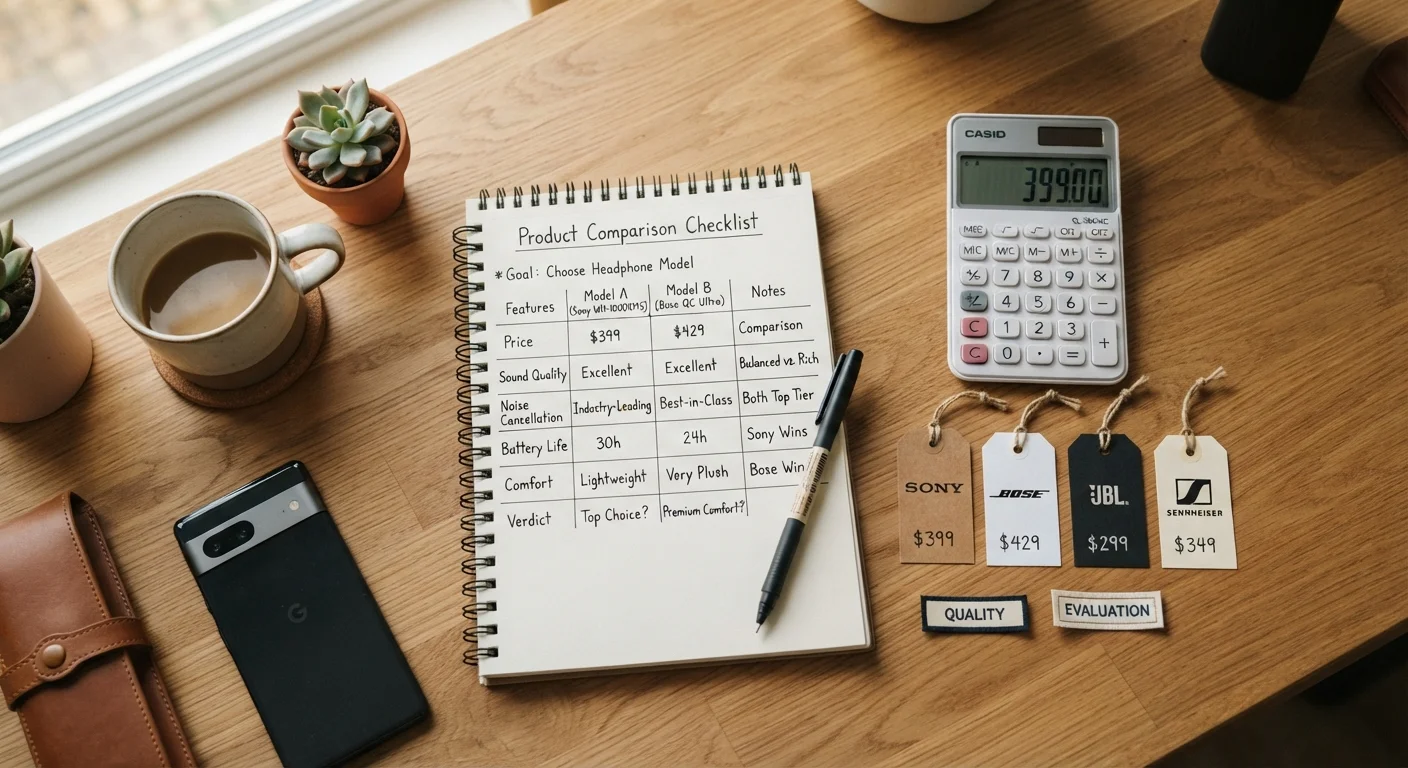
Create a simple table — paper or digital — with one column per product and one row per factor that matters to you: total cost of ownership, warranty coverage and terms, key specifications, return policy, and availability of repair or support. Assign a weight to each factor based on your Step 1 priorities. This grid makes trade-offs explicit rather than intuitive, so the decision is easier to explain and revisit.
Verify claims with independent sources
Manufacturer spec sheets and retailer descriptions are marketing documents. Cross-check key claims — battery life, durability ratings, compatibility — against independent reviews from consumer testing organizations, trade publications, or verified buyer feedback. Pay particular attention to reviews that describe long-term performance, not just first-week impressions.
Consider the refurbished or generic alternative
Before finalizing your shortlist, check whether a certified refurbished version or a store-brand equivalent meets your Step 1 requirements. In many categories, these options perform comparably at meaningfully lower total cost. The guide on new vs. refurbished products walks through when each makes sense.
Score your grid and identify the strongest overall value
Multiply each product's score on a given factor by that factor's weight, then sum across all rows. The product with the highest weighted total is your strongest overall value — not necessarily the cheapest or the most feature-rich. If two options finish close together, revisit your must-have list from Step 1 to find the deciding factor.
Common Traps That Derail Good Comparisons
Even structured shoppers fall into predictable patterns. Here are the most common ones to watch for:
- Comparing unlike specs: Two products may list the same feature — "1-year warranty," for example — but one may cover parts only while the other covers labor and shipping. Read the terms, not just the label.
- Ignoring consumables and subscriptions: A printer, coffee maker, or razor handle with a low upfront price may require expensive proprietary refills. Factor in the hidden costs buyers routinely overlook before deciding.
- Over-weighting reviews volume: A product with 4,000 reviews averaging 3.8 stars is not necessarily better than one with 200 reviews averaging 4.6. Look at verified reviews, recency, and whether complaints cluster around the same flaw.
- Treating brand name as a quality proxy: In many categories, store-brand or generic options are manufactured to comparable standards. See how store brands compare to name brands before assuming otherwise.
Cost Per Use Is a Reliable Sanity Check
Divide the total cost of ownership by the number of times you expect to use the item over its lifespan. A $180 item used 300 times costs $0.60 per use; a $90 item replaced after 80 uses costs $1.13 per use. This single calculation often resolves close comparisons quickly. For more on this concept, see why buying cheaper isn't the same as saving money.
Finally, keep in mind that buying cheap can cost more over time. A product replaced twice is almost always more expensive than one bought well once.