

Key Takeaways
Why Order and Simplicity Beat a Bigger Product Collection
The biggest time-waster in a morning makeup routine usually isn't the number of products you own — it's the absence of a defined order. Backtracking to fix unblended edges, layering on extra concealer to correct a patchy base, or hunting for a brush that's out of place can easily stretch a five-minute job into twenty. A consistent sequence means your hands move on autopilot, and each product goes on in a way that sets up the next one correctly.
Speed also depends heavily on what's happening underneath. Well-moisturized skin blends foundation in roughly half the time it takes over dry or rough texture. If you're still working out a reliable morning skincare rhythm, run through the pre-application skin prep checklist first, or start broader with building your first skincare routine from scratch.
Prep Your Skin Before Any Makeup
Skipping moisturizer and primer means foundation can cling to dry patches, separate, or fade within hours — undoing your effort before the day even starts. A quick 60-second skin prep step makes blending faster and wear longer. Run through the pre-application skin prep checklist before you reach for any makeup products.
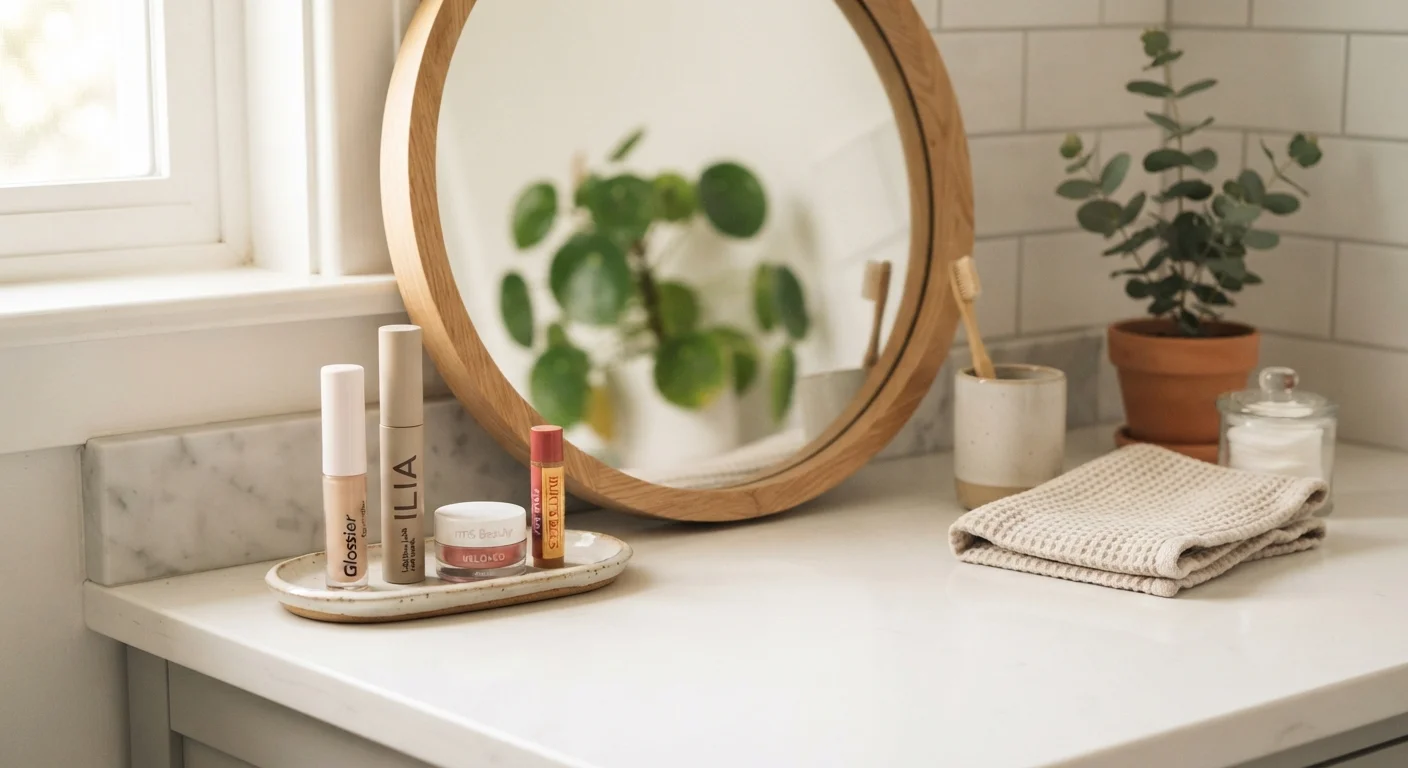
Multitasking products quietly remove steps without sacrificing results. Tinted moisturizers combine hydration and light coverage. Cream blush skips the brush entirely. A tinted lip balm delivers color and conditioning in one swipe. If your current kit isn't set up for this kind of efficiency, the starter makeup kit guide walks through exactly what to prioritize.
Tinted Moisturizer or Light-Coverage Foundation
Provides an even skin tone base without requiring heavy blending or build-up.
Creamy Concealer
Spot-covers blemishes and under-eye circles in seconds using fingertip blending.
Cream or Powder Blush
Adds warmth and dimension to the face; cream formulas apply quickly with fingers.
Mascara
Opens and defines the eyes in a single 30-second step.
Tinted Lip Balm or Lip Stain
Delivers color and moisture to the lips without the precision required for lipstick.
Makeup Sponge or Clean Fingers
Blends foundation and cream products seamlessly without requiring multiple brushes.
Setting Spray
Locks the finished look in place and melds products together for longer wear.
The Step-by-Step Routine
The routine below runs seven steps, but the core five — base, conceal, blush, mascara, lip — will take most people well under ten minutes once the sequence becomes familiar. Keep everything in a fixed spot so there's no searching. Lay out your products in order before you start so your hand always reaches for the right thing next.
What you will need
Prep Your Skin (60 Seconds)
Before any makeup touches your face, confirm your skin is clean and moisturized. If you use a primer, apply a pea-sized amount and let it settle for 30 seconds. This single step affects how smoothly everything else blends and how long it stays in place. For a full breakdown of what to do before reaching for foundation, the pre-application skin prep checklist covers each item in order.
Apply a Light Base (90 Seconds)
Dot a small amount of tinted moisturizer or light-coverage foundation onto your forehead, cheeks, nose, and chin. Use a damp makeup sponge or your fingertips to blend outward using quick pressing motions. Focus coverage where you want it most — you don't need to coat your entire face evenly. Blend the edges toward your hairline and jaw so there's no visible line.
Spot-Conceal Where Needed (60 Seconds)
Using your ring finger — the lightest-pressure finger — tap a small amount of creamy concealer only onto areas you want to even out, typically under the eyes and over any blemishes. Blend the edges by pressing rather than rubbing, which can lift the base underneath. A thin layer that closely matches your skin tone will look far more natural than a thick application.
Add Blush for Warmth (45 Seconds)
Smile gently and apply blush to the apples of your cheeks, blending upward toward the temples. Cream blush applied with fingertips is the fastest option — no brush needed, blends in seconds. Powder blush works equally well with a fluffy brush and a light hand. Start with a small amount and build gradually; it's much easier to add than to remove excess color.
Define Eyes with Mascara (45 Seconds)
Starting at the base of your upper lashes, wiggle the mascara wand back and forth as you sweep upward to the tips. One to two coats on the upper lashes is enough for a daytime look. A single coat on the lower lashes adds definition without looking heavy. Let each coat dry for five seconds before adding another to prevent clumping. For techniques that go beyond mascara, blending eyeshadow without a dozen brushes walks through a simple approach using minimal tools.
Finish with Tinted Lip Balm (30 Seconds)
Swipe a tinted lip balm or sheer lip stain directly from the bullet onto your lips, then press your lips together to distribute it evenly. No mirror precision required — these formulas are forgiving and blend on contact. This final step adds a polished finish that ties the whole look together in under half a minute.
Optional: Set with a Quick Spritz (20 Seconds)
Hold a setting spray about 10–12 inches from your face and mist lightly in a T or X pattern. Close your eyes while you spray, then let it air dry for 10 seconds. This optional step helps all products blend together and wear more consistently. Skip it confidently if you're already at the 10-minute mark — the routine holds up well without it.
One Focus Point Saves Time
Choosing either a defined eye or a bold lip — not both — is the single easiest way to look intentional without adding steps. On rushed mornings, mascara plus a tinted lip balm covers both beats in about 90 seconds. For occasions that call for more intensity, scaled-up looks don't require starting from scratch — just one or two additional targeted steps.
As this routine becomes second nature, small additions slot in naturally — a quick brow gel swipe or a wash of neutral eyeshadow — without stretching the overall time significantly. When you need to dress the look up for a specific setting, occasion makeup: matching your look to the setting covers how to calibrate intensity without rebuilding from scratch. And if product costs are a consideration, skincare on a simple budget helps identify where your spending actually moves the needle.