

Key Takeaways
Why Small Rooms Feel Small
A room's perceived size has surprisingly little to do with its actual square footage. Dark paint, bulky furniture pushed against every wall, a single overhead light, and layered clutter all signal to the eye that space is compressed. The good news: each of those factors is adjustable without a single structural change.
Before reaching for a sledgehammer — or even a paint roller — it helps to understand which specific elements are making your room feel tight. Is the ceiling low? Is natural light blocked? Is the furniture oversized for the floor plan? Scale and proportion often explain more than color or style alone. Identifying the core problem lets you apply the right fix rather than changing everything at once.
If you've wondered whether removing a wall is the answer, it's worth knowing that structural changes come with real trade-offs — acoustics, heating efficiency, and privacy can all shift in ways that aren't immediately obvious. Open-plan living isn't always the upgrade it appears to be. The techniques below work with your existing walls — and your existing budget.
What You'll Need
Most of these strategies require common household items or modest purchases. Review the tools and materials below before you start, then work through the steps in sequence.
What you will need
Measuring tape
Verify furniture dimensions and spacing before moving heavy pieces.
Large wall mirror
Reflects light and creates the illusion of depth when placed opposite a window.
Light-toned interior paint
Visually recedes walls to make the room feel larger and brighter.
Floor lamp or table lamps
Adds layered lighting to eliminate dark corners that compress perceived space.
Curtain rod long enough to extend beyond window frame
Allows curtains to be hung wide and high, making windows and ceilings appear taller.
Furniture leg risers or compact furniture with visible legs
Lifts furniture off the floor to create visual breathing room beneath pieces.
Step-by-Step: Expanding Your Room Visually
Work through these steps in order. Some — like paint — require drying time, so plan around that. Others, like rearranging furniture, you can test and undo freely before committing.
Clear the Room and Measure What You Have
Remove all non-fixed items temporarily — furniture, rugs, art, and accessories. Measure the room's length, width, and ceiling height, then measure each piece of furniture you plan to return. This baseline prevents you from rearranging based on memory or guesswork.
Mark high-traffic paths on a simple sketch: the route from the door to the window, to a seating area. These paths should remain unobstructed in your final layout. Crowded walkways make rooms feel smaller than tight square footage alone ever could.
Choose and Apply a Space-Expanding Paint Color
Light, cool tones — soft whites, pale grays, muted blues, and warm creams — cause walls to visually recede, making the boundary of a room feel farther away. Painting the ceiling the same color as the walls (or a slightly lighter shade) removes the visual 'cap' that makes ceilings feel low.
Avoid stark white if your natural light is warm or limited — it can look flat or even grayish. Test at least two paint samples on actual walls and observe them at different times of day before purchasing full cans. Common decorating myths — including the belief that dark rooms always need white walls — are worth questioning before you commit.
Position a Large Mirror Opposite Your Best Light Source
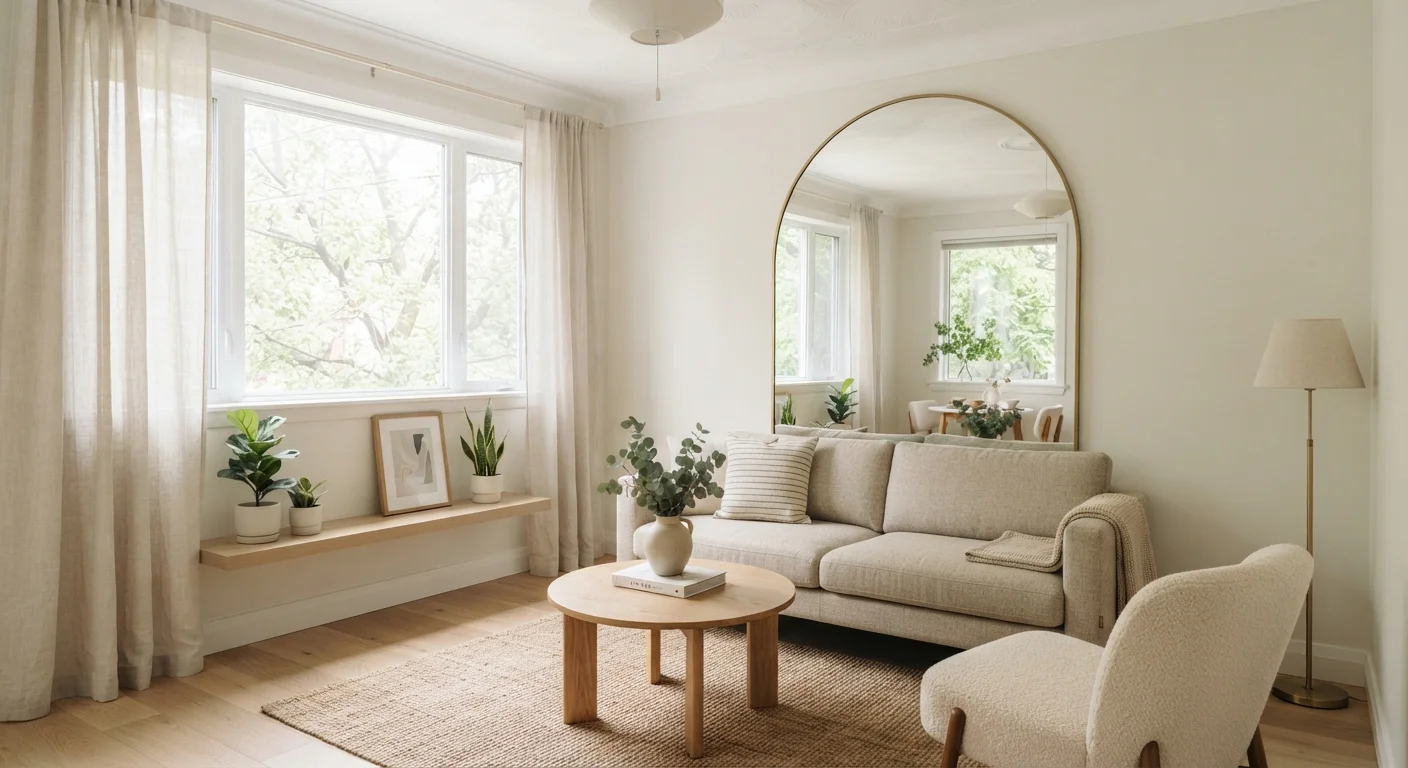
A mirror hung directly across from a window effectively doubles the apparent depth of a room and bounces natural light into darker corners. The mirror should be as large as practically fits on the wall — a small mirror centered on a large wall reads as an accessory, not a spatial tool.
Lean an oversized mirror against a wall if you're renting or want to test placement before committing to hardware. For maximum effect, position the mirror so it reflects an interesting view — a window, a plant, or a well-lit corner — rather than reflecting the opposite blank wall.
Rearrange Furniture to Open the Center of the Room
Pull major furniture pieces slightly away from walls — even 2 to 3 inches creates breathing room that reads as spaciousness. Place the largest piece (typically a sofa or bed) facing the room's longest axis. Keep the central floor area as clear as possible.
Choose furniture with visible legs wherever practical. When you can see the floor continuing beneath a sofa or chair, the room reads as having more continuous floor space. Avoid pieces that extend to the ground on all sides in small rooms — they visually anchor and shrink the space. For deeper guidance on getting proportions right, see our guide to scale and proportion.
Hang Curtains High and Wide
Mount curtain rods as close to the ceiling as possible — not at window-frame height. Let the curtains extend 6 to 12 inches beyond each side of the window frame. When drawn open, this treatment makes windows appear much larger than they are and draws the eye upward, increasing perceived ceiling height.
Choose curtain fabric in a color close to your wall color, or in a sheer material that allows light to pass through. Heavy, contrasting drapes chop the wall into sections and make rooms feel boxier.
Add Layered Lighting to Eliminate Dark Corners
A single overhead fixture creates one bright zone and leaves the room's edges in relative shadow, which compresses perceived size. Replace or supplement it with at least two additional light sources: a floor lamp in a corner, table lamps at seated height, or under-shelf lighting for built-ins.
Aim for lighting that reaches all four corners of the room at roughly similar brightness levels. This creates the visual impression of a larger, more continuous space. For a full approach to how lighting interacts with other room elements, layered room design walks through the method designers use.
Edit Accessories and Add Strategic Vertical Elements
Return only the accessories that genuinely earn their place. A few well-chosen objects on an open surface read as curated; a crowded surface reads as cluttered — and clutter is one of the fastest ways to visually compress a room. When in doubt, store it rather than display it.
Add at least one strong vertical element: a tall bookcase, a floor-to-ceiling curtain, or a piece of vertical wall art. Wall art placement affects how tall a room feels — hung too low, art anchors the eye at waist level; hung at the right height, it draws the gaze upward.
Sustaining the Effect Over Time
Visual expansion is easy to undo. The most common culprit is accumulation — surfaces slowly fill, storage gets skipped, and the open floor plan you created disappears under belongings. Build a seasonal habit of editing what's on display. Open shelving versus closed cabinets is a decision worth revisiting: open shelves look airy when curated but can feel chaotic when they overfill.
Lighting also drifts — bulbs burn out and aren't replaced, lamps get moved. Check your layered lighting setup every few months and replace any failed sources promptly. A single dark corner can erode all the spaciousness you've built elsewhere. For rooms that struggle with natural light, low-light indoor plants can add visual life without blocking windows or adding visual weight.
Finally, resist the urge to correct every perceived flaw at once. Pick one or two changes, live with them for a week, and assess. Rooms respond to changes in combination — sometimes a new mirror plus repositioned furniture accomplishes more than a full repaint.