

Key Takeaways
Why Composting Belongs in Every American Backyard
Kitchen and yard waste makes up a significant portion of what American households send to landfills every week. When organic matter breaks down in landfills without oxygen, it produces methane — a potent greenhouse gas. Composting at home redirects that same material into a natural biological process that produces something genuinely useful: stable, nutrient-rich humus that improves nearly any garden soil.
Beyond the environmental benefit, compost is one of the most effective soil amendments a gardener can apply. It improves drainage in dense clay soils, helps sandy soils retain moisture, feeds the microbial communities that make nutrients available to plant roots, and can gradually buffer pH over time. If you're planning a food garden, composting is a natural companion — see our beginner's guide to starting a vegetable garden for how soil preparation fits into the bigger picture. For gardeners weighing bed types, our piece on raised beds vs. in-ground planting explains how compost benefits both approaches.
Compost bin or designated pile area
Contains materials, retains heat, and keeps the pile tidy and pest-resistant.
Garden fork or compost turning tool
Used to aerate the pile by turning materials every one to two weeks.
Kitchen scrap container with lid
Collects food scraps on the counter between trips to the outdoor pile.
Garden hose or watering can
Adds moisture when the pile becomes too dry to support decomposition.
Thermometer (compost or probe style)
Monitors internal pile temperature to confirm active decomposition is occurring.
What to Compost — and What to Keep Out
The most common composting mistake is adding the wrong materials and then wondering why the pile smells bad or attracts pests. Knowing what belongs in the pile before you start saves a lot of troubleshooting later.
Good additions (greens)
- Raw fruit and vegetable scraps
- Coffee grounds and paper filters
- Plain tea bags (remove staples)
- Fresh plant trimmings and grass clippings
- Eggshells (crushed to speed breakdown)
Good additions (browns)
- Dry fallen leaves
- Torn cardboard and brown paper bags
- Straw or wood chips
- Paper towels and newspaper (black ink only)
Avoid These Items in Your Pile
Never add meat, fish, bones, dairy products, or oily cooked foods to a backyard compost pile. These materials attract rodents and other pests, create foul odors, and can introduce harmful pathogens. Diseased plant material and pet waste should also stay out of the pile to protect your garden soil.
Maintaining a healthy pile that stays odor-free also supports a more pleasant backyard overall. For ideas on making your outdoor space enjoyable well beyond the garden, explore designing a backyard that's actually used.
Step-by-Step: Building and Maintaining Your Pile
The following steps walk you through setting up a functional compost system from scratch. Whether you're working with a purchased bin or an open pile, the core principles remain the same. Gather your tools and materials first, then work through the steps in order.
What you will need
Choose and set up your composting system
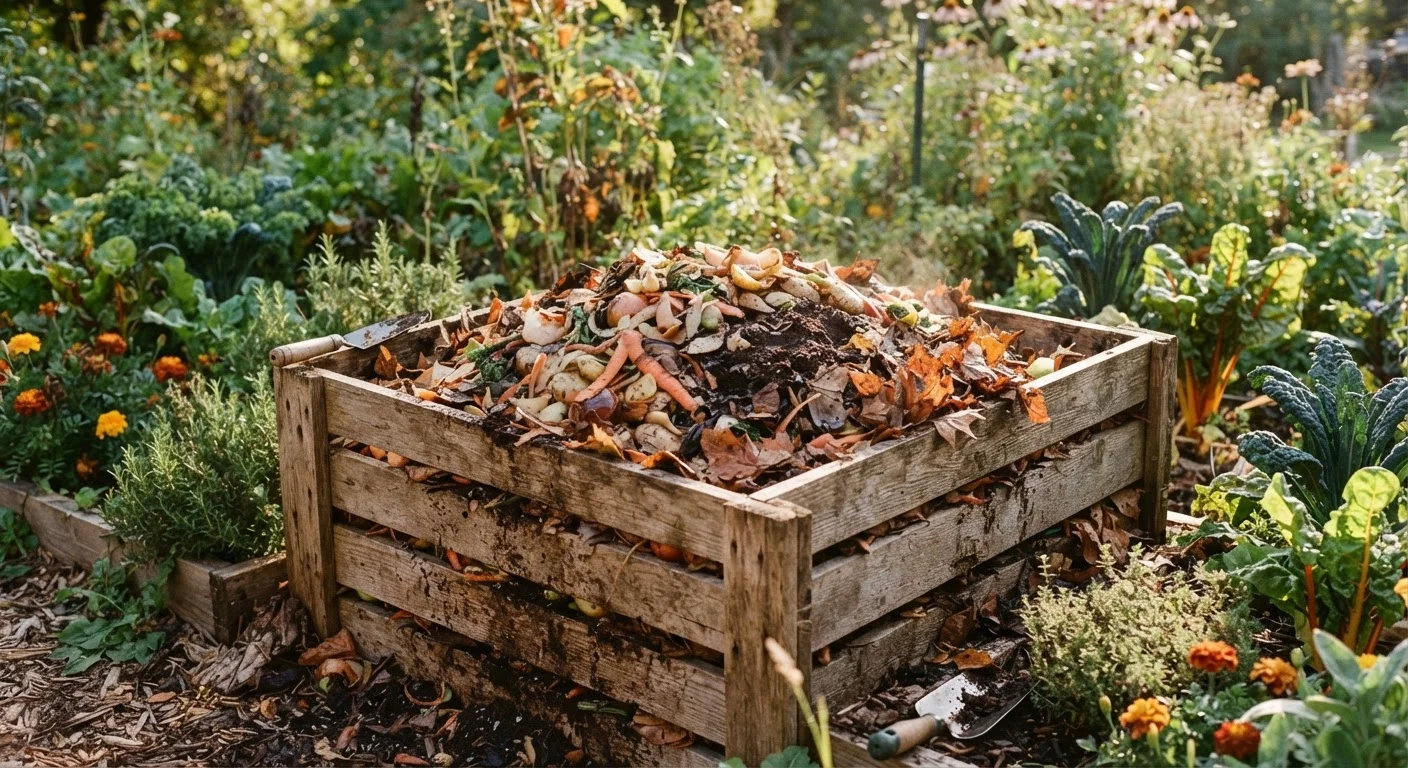
Pick a spot that gets partial sun and is convenient to reach from both your kitchen and garden. A 3×3×3-foot minimum is widely recommended for generating enough heat. You can build a simple three-sided bin from lumber pallets, purchase a tumbling composter, or simply designate a bare-ground pile. Place the bin directly on soil so worms and beneficial organisms can migrate in.
Understand the green-to-brown ratio
Compost thrives on a balance of nitrogen-rich 'green' materials and carbon-rich 'brown' materials. Greens include vegetable peels, fruit scraps, coffee grounds, fresh grass clippings, and plant trimmings. Browns include dry leaves, cardboard, paper bags, straw, and wood chips. A rough target of one part greens to two or three parts browns by volume keeps microbes active without creating odor or slime.
Build your initial pile in layers
Start with a 4-to-6-inch layer of coarse browns (wood chips or straw) at the base for drainage. Add a layer of greens, then cover with another layer of browns. Continue alternating layers as you accumulate material. Lightly moisten each layer as you go if the materials are dry. This layered foundation gets microbial activity off to a productive start.
Add kitchen scraps correctly
Bury new food scraps in the center of the pile rather than leaving them on top. This speeds decomposition, discourages flies, and deters scavenging animals. Acceptable kitchen additions include raw vegetable and fruit scraps, eggshells, coffee grounds and filters, and plain tea bags. Always cover fresh additions with a layer of browns to maintain balance and minimize odor.
Turn and aerate the pile regularly
Oxygen is essential for the aerobic microbes that break down organic matter efficiently. Use a garden fork to turn the pile every one to two weeks, moving material from the outer edges toward the center. A healthy, active pile will feel warm inside — sometimes reaching 130–160°F at the core. Regular turning also redistributes moisture and keeps the process moving evenly through all the material.
Recognize and use finished compost
Finished compost is dark brown to black, crumbly in texture, and carries an earthy, forest-floor smell — not a sour or sharp odor. Individual ingredients should no longer be recognizable. This typically takes two to six months depending on pile size, climate, and turning frequency. Sift finished compost through a coarse screen to separate out any unfinished chunks, which can go back into a new pile. Work the finished product into garden beds, use it as a top-dressing around plants, or blend it into potting mixes.
Speed Things Up Naturally
Chop or shred materials before adding them — smaller pieces expose more surface area to microbes and can cut decomposition time significantly. Coffee grounds, grass clippings, and aged manure are all high-nitrogen activators that help kick-start a slow pile.
Watch Your Pile's Moisture Level
A pile that is too wet will turn anaerobic, producing a sulfur-like smell and slow decomposition. Aim for the moisture level of a wrung-out sponge. In rainy regions, cover the pile to prevent waterlogging; in dry climates, water it lightly every few days.
Once your compost is ready, it pairs naturally with an organic approach to garden health. Our article on chemical vs. organic pest control covers how healthy, compost-enriched soil can support a garden that's less reliant on synthetic inputs.