

Key Takeaways
Why Fewer Brushes Actually Help You Blend Better
The idea that great eyeshadow requires a sprawling brush collection is one of the most persistent myths in beauty. In reality, working with too many tools often leads to over-application, conflicting blending directions, and muddy color payoff. A streamlined kit — a flat shader brush, a fluffy blending brush, and optionally a small detail brush — forces you to be intentional with every step, and that intentionality is what produces polished results.
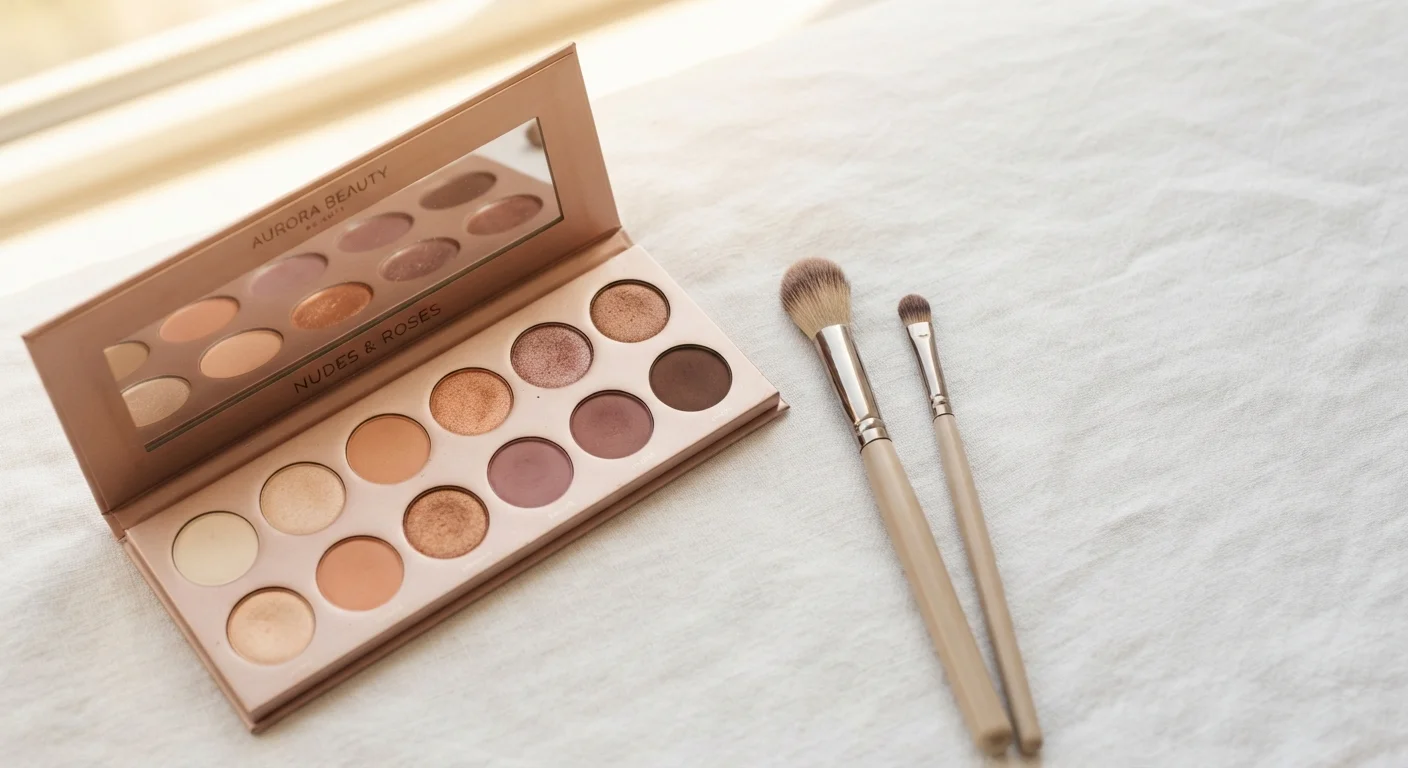
The flat shader brush does one thing well: it packs pigment onto the lid with precision. The fluffy blending brush does the opposite — it diffuses and softens without depositing much new color. Together, these two tools cover the full range of what most eye looks require. If you're building your first kit from scratch, our starter makeup guide walks through exactly what to prioritize.
Flat shader brush
Packs and deposits eyeshadow color directly onto the lid with precision.
Fluffy blending brush
Diffuses edges and transitions between shades using soft, sweeping motions.
Small pencil or detail brush
Applies precise color to the lower lash line or inner corner highlight.
Clean fingertip
Pats cream or shimmer shadow onto the lid when brushes aren't available.
One underrated tool deserves a special mention: your fingertip. The warmth of your skin helps cream and shimmer shadows meld seamlessly into the lid in a way that brushes sometimes can't replicate. For inner corner highlights or single-shadow looks, a clean finger is genuinely effective.
What you will need
The Method: Building a Seamless Look Step by Step
The steps below follow a specific order for a reason. Starting with a transition shade in the crease before placing any lid color gives every subsequent shade a soft, pre-blended base to land on — it's the closest thing to a blending cheat code that exists. Each step uses minimal product and builds gradually, which is far easier to control than trying to soften a heavy application after the fact.
Prime your lids
Apply a thin layer of eye primer or a small amount of concealer across your entire lid up to the brow bone. Blend it in with your fingertip and allow it to set for about 30 seconds. This step gives eyeshadow something to grip, which makes blending noticeably smoother and extends wear time.
Pack on your transition shade
Using your fluffy blending brush — yes, before any color goes on the lid — pick up a neutral matte shade that's one or two tones deeper than your skin. Tap off the excess against the back of your hand, then sweep the brush back and forth in the crease using short windshield-wiper strokes. This creates a soft base that makes every shade you add afterward look naturally blended.
Apply your lid color
Switch to your flat shader brush. Tap it into your chosen lid shade — typically a medium tone or shimmer — and tap off the excess. Press (don't drag) the brush onto the center of your lid in gentle patting motions, building coverage gradually. Work outward from the center rather than sweeping across the entire lid at once; this keeps the color concentrated where it has the most impact.
Deepen the outer corner
Still using your flat shader brush, pick up a deeper matte shade and apply it to the outer third of your lid in a soft V shape — imagine the shape of a windshield-wiper arc from your upper lash line toward the outer crease. Keep the coverage light; you'll blend it next. This is where dimension comes from, and a little goes a long way.
Blend all the edges
Pick up your fluffy blending brush — no new product needed. Using circular or back-and-forth windshield-wiper motions, work along every edge where two shades meet. Focus especially on the crease and the line between the deeper outer shade and the lighter lid color. The goal isn't to remove color; it's to eliminate any harsh boundary between shades. Blend until no hard line is visible.
Add a highlight and finish
Use your clean fingertip or the flat shader brush to tap a light shimmer or matte highlight shade onto the inner corner of the eye and just under the brow bone. Fingers are actually ideal here — body heat helps shimmer shadows melt into the skin for a seamless finish. Step back, check your work in good lighting, and use the fluffy brush with no product to softly re-blend any edge that still looks defined.
Keep One Brush Clean and Dry
Your fluffy blending brush works best when it's free of heavy product buildup. After each look, wipe it on a clean tissue or use a dry brush cleaner between shades. A cleaner brush blends more efficiently and won't muddy your colors together.
Once you're comfortable with this sequence, you can adapt it to any palette and any occasion. A single wash of shimmer on the lid with a blended crease shade reads as effortless daytime glam. The same structure with a deeper outer-corner shade and a smokier transition reads as evening-ready. Our occasion makeup guide can help you calibrate intensity depending on where you're headed.
Don't Skip the Tap-Off Step
Tapping excess powder off your brush before every application is one of the most important habits in eyeshadow application. Overloaded brushes drop fallout onto your cheeks, deposit too much color at once, and make seamless blending nearly impossible. It takes two seconds and makes a real difference.
If you find yourself short on time, this technique slots neatly into a streamlined morning routine. Check out getting ready in 10 minutes for a full routine built around efficiency without sacrificing finish.
Blending Takes Practice — That's Normal
Even professional makeup artists needed time to develop their blending technique. If your first few attempts look streaky or uneven, that's a completely normal part of the learning curve. Practicing on a day when you have no plans — or on the back of your hand — helps you build muscle memory without pressure.
Troubleshooting Common Blending Problems
Even with the right brushes and the right order, a few common issues tend to trip up beginners. Here's what's likely happening and how to address it:
- Muddy color: Usually caused by blending two very different shades directly into each other without a neutral transition shade between them. Add a matte mid-tone shade in between and re-blend.
- Patchy coverage: Often a sign that primer was skipped or that the brush was dragged rather than pressed. Re-apply primer on bare skin or use gentle patting motions rather than swiping.
- Fallout on the cheeks: Too much product was loaded onto the brush. Tap off more aggressively before each application. Doing your eye makeup before foundation also means you can dust away fallout without ruining your base.
- Color disappearing entirely: The blending brush was too loaded with powder from previous steps. Tap it clean on a tissue between color transitions.
Good skin preparation also plays a role in how eyeshadow sits and wears. Hydrated, prepped skin makes a difference even at the eye area — the skincare basics hub is a helpful starting point if that side of your routine needs attention.