

Key Takeaways
Why Starting Point Is Everything
The most common tiling mistake isn't a bad cut or a crooked joint — it's choosing the wrong place to begin. Many DIYers start in a corner because it feels logical. The wall is a straight edge, the corner is a fixed reference, and it's easy to work outward from there. The problem: very few rooms are perfectly square, and when you reach the opposite walls, you're left with whatever is left over — often a sliver of tile that looks like an afterthought.
Professional tile setters instead identify the room's visual center and plan outward from there. This approach ensures that whatever cuts appear at the perimeter are roughly equal in size on both sides, creating the balanced, mirrored look that signals intentional design rather than improvisation.
For rooms with a dominant feature — a freestanding tub, a fireplace hearth, or a kitchen island — that feature typically becomes the layout anchor. In hallways and rectangular rooms, the centerline running the length of the space usually governs the layout. The goal is always the same: put the best-looking tile where the eye lands first, and push cuts to edges that are least visible. This same principle of starting from a focal point applies across many design disciplines — see how it shows up in wall art placement as well.
Core Layout Principles to Apply Before Mixing Mortar
Getting tile layout right is almost entirely a planning exercise. The physical installation is far more forgiving when you've resolved the geometry on paper — and on the floor — before any adhesive is involved.
Snap perpendicular chalk lines from the room's center, not from the walls
A center-out approach distributes any layout discrepancy equally to all four walls, producing symmetrical cuts at the perimeter. Starting from a wall means one side gets full tiles and the opposite side gets whatever's left — which is almost never visually pleasing.
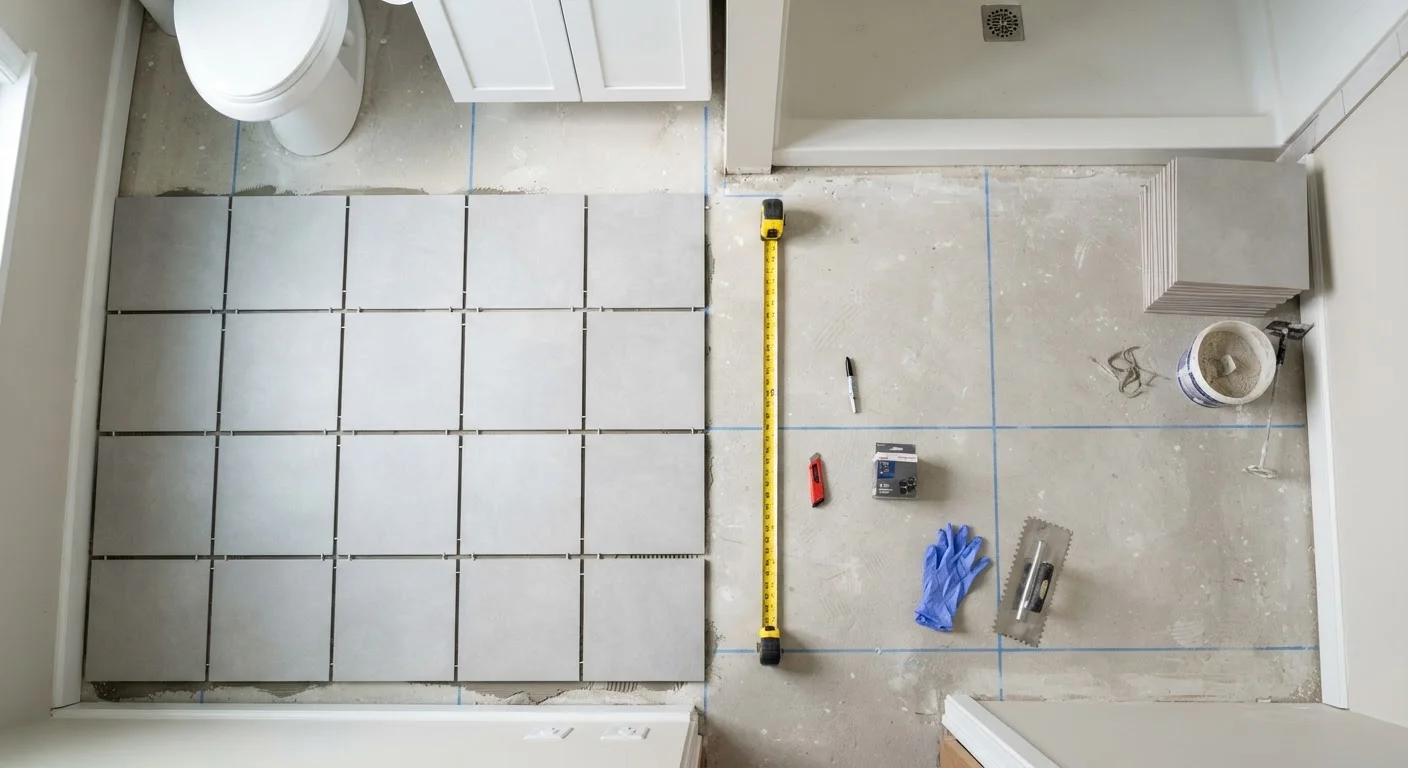
Dry-lay a full row in both directions before applying any mortar
A dry run reveals exactly where cuts will fall across the entire floor or wall. It lets you shift the starting grid by half a tile in either direction — a small adjustment that can eliminate thin slivers at every edge without any material waste.
Maintain a minimum cut width of half a tile at all visible perimeter edges
Cuts narrower than half a tile width look unintentional and draw the eye immediately. They're also structurally weaker and harder to adhere properly. Most experienced installers treat a half-tile minimum as a non-negotiable standard for any edge visible from a standing position.
Use a laser level or chalk line to extend and verify your reference grid throughout installation
Grout joint alignment drifts when installers rely on the previous tile as a reference rather than returning to the original layout lines. Consistent reference lines keep every row true to the original grid across the entire surface.
Plan layout around the room's dominant focal point or primary sightline
Full tiles placed at the most-viewed location anchor the eye and make the layout read as intentional. Cuts at the focal point — especially those visible from a doorway — undermine even technically correct tilework.
If you're incorporating tile work into a larger renovation, coordinating your layout decisions with the broader project sequence matters. A kitchen remodel sequencing guide explains why tile should generally follow cabinet and appliance placement, not precede it — because fixed elements define where your layout anchors should land.
Reading the Room: Adjustments for Common Spaces
Different rooms call for slightly different layout logic based on their shape, traffic patterns, and focal points.
- Bathrooms: Center the layout on the shower wall or the floor visible when you enter. Cuts should fall behind the toilet and under vanity toe-kicks where they'll never be noticed.
- Kitchens: Backsplash tile typically centers on the range hood or stove, since that's the room's natural focal wall. Grout lines should align with upper cabinet edges where possible for a clean, integrated look.
- Entryways and hallways: Run the tile parallel to the longest wall and center it on the width of the space. This keeps the eye moving forward rather than catching lopsided edges.
- Diagonal patterns: These need a true center starting point and careful math. A diagonal layout that drifts even slightly will visibly skew by the time you reach the walls.
When to Consult a Professional Installer
Diagonal patterns, large-format tiles (over 18 inches), and heated floor systems introduce complexity that can turn planning errors into costly material waste or structural issues. If your project involves any of these, or if subfloor levelness is in question, consulting a licensed tile installer before starting is worth the cost of the consultation. Permits are not typically required for tile installation, but always verify local code requirements for any work that touches plumbing or electrical.
Once tiles are set, the layout becomes the permanent visual logic of the room — very much like furniture arrangement. Rooms that feel balanced and resolved share the same underlying discipline whether the surface is a tile floor or a curated shelf. If you want to explore how that visual balance plays out in other surfaces, diagnosing why a room feels off covers the same spatial principles.
Quick Wins You Can Put Into Practice Today
Layout planning takes an hour or two of careful measurement but saves hours of rework — and eliminates the demoralizing experience of reaching the far wall with a three-quarter-inch sliver to cut. Whether you're tackling this project yourself or briefing a contractor, understanding these principles means you can evaluate a proposed layout before installation begins, not after.