

Key Takeaways
What Blind Spots Are and Why They Matter
A blind spot is any area around your vehicle that your mirrors don't show you — zones where another car, cyclist, or pedestrian can exist without appearing in your field of view. These gaps in visibility are a normal feature of every vehicle, not a defect, but they become dangerous when drivers don't account for them consistently.
The size and location of blind spots vary by vehicle type. A compact sedan has relatively modest blind zones. A full-size pickup truck or SUV has considerably larger ones — particularly to the rear sides — because of their taller ride height and wider body. Vans and larger commercial vehicles can have blind zones extending several car lengths behind them.
According to the National Highway Traffic Safety Administration, blind spot-related lane-change collisions are a significant contributor to roadway injuries. Most of those crashes aren't caused by recklessness — they happen because a driver assumed their mirrors told the whole story. They don't. For context on how awareness gaps build up over time, see habits that quietly erode driver awareness.
Where Your Blind Spots Actually Are
Understanding the specific geometry of your vehicle's blind spots helps you know exactly where to look. Here are the main zones to be aware of:
- Rear quarter panels (both sides): These are the most significant blind spots for most passenger vehicles. They sit roughly between where your side mirrors end and where your peripheral vision begins — typically alongside and slightly behind your rear doors.
- Directly behind the vehicle: Rearview mirrors can't show what's directly behind a tall tailgate or spare tire mount. Reversing cameras help significantly, but have their own coverage limits.
- Front corners: On larger trucks and SUVs, the hood length and height can obscure pedestrians or small vehicles at the front corners, particularly in parking lots and intersections.
- Far-right side on wide vehicles: The passenger side typically has a wider blind zone than the driver's side because it's farther from your sightline.
Sitting in the driver's seat right now and noting where each mirror's coverage ends is one of the most practical exercises you can do. That edge — where the mirror reflection stops — is where your blind spot begins.
Convex Mirror Inserts Can Help
Small adhesive convex (wide-angle) mirror inserts are available that attach to the outer corner of your existing side mirrors. They expand your field of view into the rear quarter zones. They don't eliminate the need for head checks, but they provide a useful additional reference point — especially on wider vehicles.
Adjusting Your Mirrors to Minimize the Gaps
Before addressing blind spots with head checks, make sure your mirrors are adjusted to do as much work as possible. Many drivers set their side mirrors too close to the car — showing too much of their own vehicle's body and too little of the lanes beside them.
What you will need
Set your seat position before adjusting mirrors
Sit in your normal driving position — the posture you naturally settle into after a few minutes on the road. Adjusting mirrors from an unusual seated position means they'll be misaligned when you're actually driving.
Adjust the driver-side mirror outward
Angle the driver-side mirror so that your own vehicle's body is just barely out of frame — you should see only a sliver of your car's rear quarter, or none at all. This pushes the mirror's coverage further into the lane beside you rather than showing you your own vehicle.
Repeat on the passenger-side mirror
The passenger side should be angled even slightly further outward than the driver side, since it covers a longer distance from your sightline. You should be able to see the lane to your right without seeing much of your own vehicle's body.
Perform a physical head check before every lane change
Even with optimally positioned mirrors, a physical over-the-shoulder check (sometimes called a shoulder check) remains necessary. Quickly turn your head toward the rear quarter in the direction you're moving. This covers the remaining zone that mirrors can't reach.
The check should be brief — about one second — so your eyes return to the road ahead quickly. Practice making it a reflex rather than an afterthought.
Signal early to give other drivers time to respond
Activating your turn signal several seconds before a lane change serves two purposes: it warns drivers in your blind spot that you intend to move, and it gives you a moment to watch your mirrors for any reaction before committing to the maneuver.
Common Situations Where Blind Spots Cause Problems
Blind spots become most dangerous in specific, predictable scenarios. Recognizing these situations helps you build targeted habits rather than vague general caution.
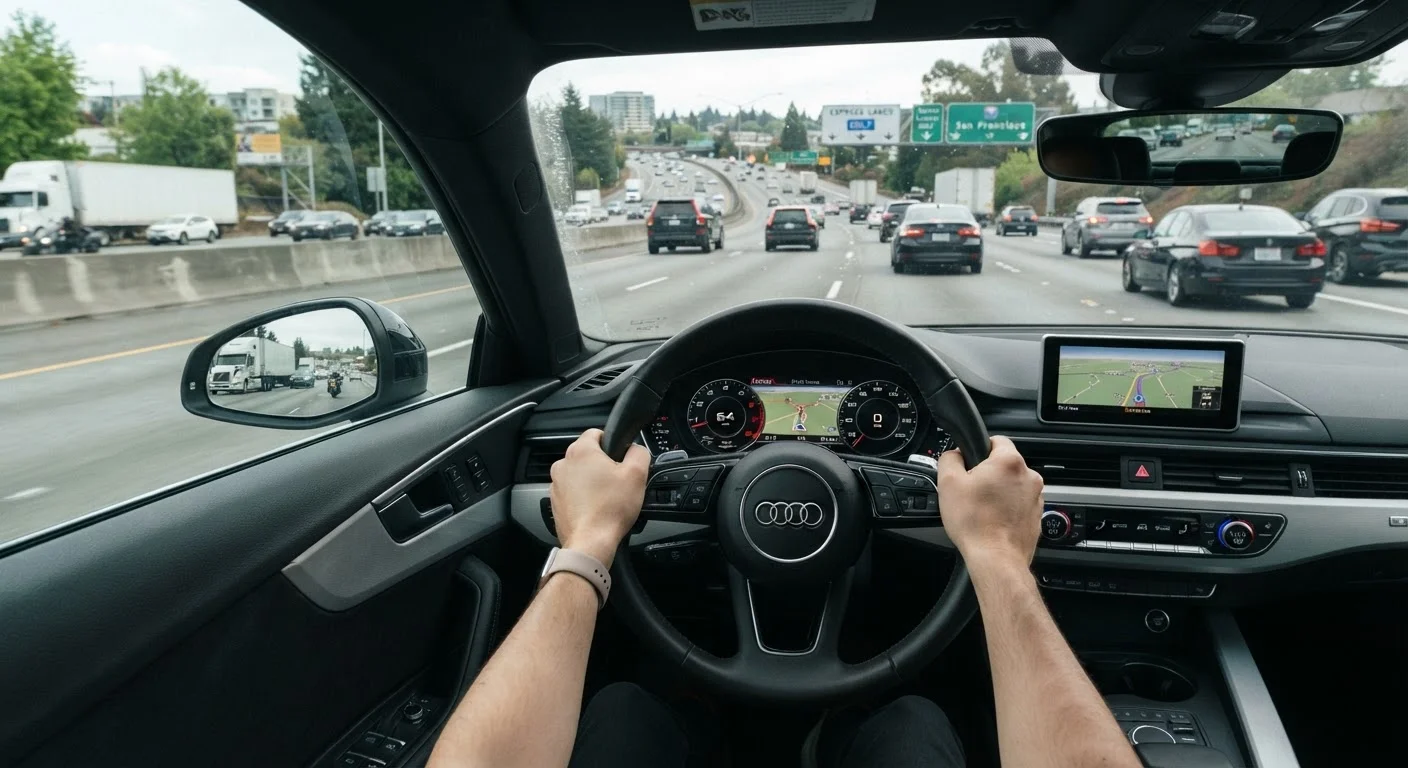
- Highway lane changes: Vehicles traveling in adjacent lanes at similar speeds can sit in your blind zone for several seconds at a time. Never rely solely on a glance at your mirrors before merging.
- Merging from on-ramps: Both the merging driver and highway traffic can be in each other's blind spots simultaneously, which is why gradual speed matching and early signaling matter.
- Urban intersections: Cyclists and pedestrians can move into your blind zone just as you begin a turn. A slow, deliberate turn with a final head check before completing it reduces this risk. For more on intersection habits, see building safer habits around intersections.
- Night driving: Reduced contrast and headlight glare make it harder to catch movement in your peripheral vision. Night driving considerations addresses this challenge in more depth.
Consistent attention to following distance also reduces how long other vehicles spend in your blind zone. Following distance fundamentals are worth reviewing if that habit needs a refresh.