

Key Takeaways
Why Air Leaks Deserve Your Attention
Your heating and cooling system works hard to maintain a comfortable temperature — but if conditioned air is quietly slipping out through gaps around windows, door frames, or utility pipes, that effort (and money) is being wasted. Air infiltration is one of the most common and correctable contributors to high energy bills in American homes, yet it rarely announces itself dramatically. Instead, it shows up as a slightly chilly living room in January, a stuffy upstairs in July, or an energy bill that always seems a little higher than it should be.
The good news is that many air-sealing fixes require no special licenses, no major tools, and no contractor. A tube of caulk, a roll of weatherstripping, and a Saturday afternoon can make a meaningful difference — especially in older homes where original seals have dried out or shifted over time. For context on how small, neglected maintenance items compound into larger costs, our guide to home insulation walks through the broader picture of where heat loss occurs throughout the house.
Below are the most common air leak locations and the practical fixes that address them.
Window frames and the caulk line you can't see cracking
The joint between a window frame and the surrounding wall is one of the most common places caulk fails. Older caulk dries, shrinks, and eventually cracks — often without being obviously visible from indoors. Run your hand slowly along the interior perimeter of each window on a cold, windy day. If you feel coolness or movement, the exterior caulk bead has likely failed.
The fix is straightforward: remove deteriorated caulk with a putty knife or caulk removal tool, clean the surface, and apply a fresh bead of paintable latex or siliconized acrylic caulk. On the exterior, use a product rated for outdoor use and UV exposure. Allow it to fully cure before painting.
Failed caulk around window frames is one of the most common — and easiest — air-sealing fixes in any home.
Exterior doors: weatherstripping that's lost its compression
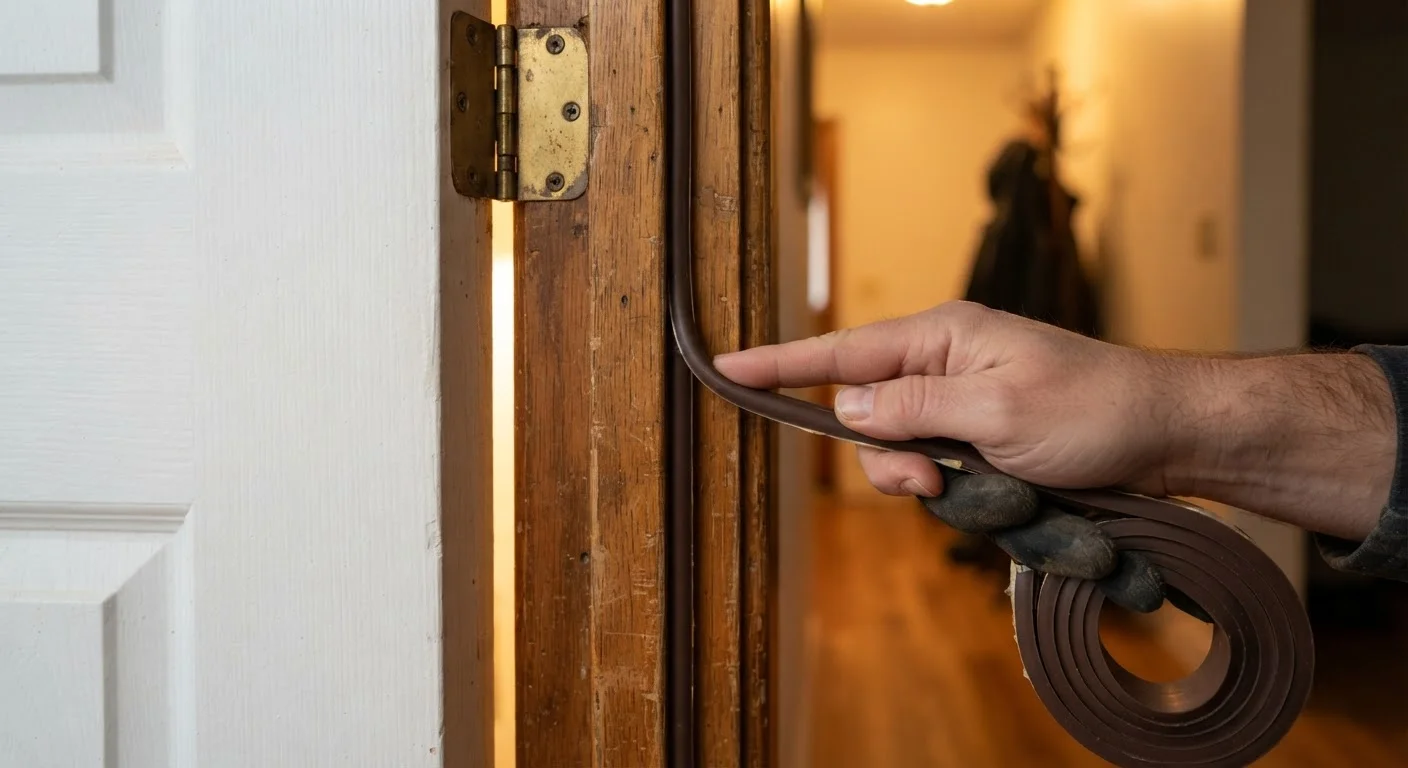
Hold a piece of paper against your closed exterior door jamb and try to pull it out. If it slides free without resistance, the door's weatherstripping is no longer creating a proper seal. Door weatherstripping compresses every time the door closes and eventually flattens, tears, or detaches at the corners.
Foam tape is inexpensive but tends to compress permanently within a season or two. V-strip (tension seal) weatherstripping made from metal or durable plastic holds up better over time for the sides of the door. The door sweep along the bottom edge deserves equal attention — it blocks the largest single gap. Look for a sweep with a solid rubber or vinyl contact strip rather than a brush-style seal, which allows more airflow.
The door sweep at the threshold is often the single largest gap in an exterior door — don't overlook it.
Electrical outlets and switch plates on exterior walls
This one surprises many homeowners. Electrical outlets and switches mounted on exterior walls have open channels running behind them into the wall cavity, creating a direct path for outside air. Press your hand lightly near an outlet plate on a cold day and you may feel the difference immediately.
The fix requires turning off the circuit at your breaker panel before doing any work near wiring — safety first. With the power off, remove the cover plate and install a pre-cut foam outlet gasket, available at any hardware store. These foam gaskets fit behind the plate and block airflow through the box. Replace the cover plate and restore power. This is a low-cost, low-skill task that can be completed across the whole house in a single afternoon.
Foam gaskets behind outlet cover plates are one of the quickest and cheapest air-sealing steps available.
Pipe and wire penetrations through walls and the floor
Every pipe, wire, or conduit that passes through an exterior wall, floor, or ceiling leaves a gap that installers rarely sealed thoroughly. Common culprits include plumbing supply and drain lines under sinks, dryer vents, gas lines, cable TV and internet entry points, and HVAC refrigerant lines.
For gaps up to about half an inch, a paintable caulk works well. For larger irregular gaps around pipes, use a fire-rated expanding foam sealant — especially around any penetrations that pass between floors or into an attached garage, where fire-stopping requirements may apply. Check local building codes or consult a contractor if you're unsure about fire-rated requirements in your area.
Pipe and wire penetrations through walls are rarely sealed at installation — checking them costs nothing.
The attic hatch: a frequently forgotten thermal weak point
Most pull-down attic stairs and basic attic hatches are uninsulated and unsealed, allowing warm interior air to rise directly into the unconditioned attic space. This convective loop — warm air rising, cold attic air displacing it — can run continuously through winter without any visible evidence at floor level.
Weatherstripping the perimeter of the hatch frame stops air movement. Adding a rigid foam insulation panel to the attic side of the hatch addresses the insulation gap. Pre-built insulated attic hatch covers are also available if you'd rather install a single solution. Improving attic air sealing pairs naturally with improving attic insulation, and our attic insulation overview covers the insulation side of that equation in more detail.
An uninsulated, unsealed attic hatch can quietly undermine the performance of the rest of your home's envelope.
Recessed lighting fixtures in insulated ceilings
Standard recessed (can) lights installed in insulated ceilings are significant air leakage points. The fixture housing creates a large, unsealed opening through the ceiling, and many older fixtures cannot be safely covered with insulation due to heat buildup. Replacing non-IC-rated fixtures with IC-rated (insulation contact rated) or airtight-rated models eliminates the gap and makes it safe to insulate over them.
This task involves working with electrical wiring and should be approached cautiously. If you're comfortable doing basic fixture swaps with the circuit off, replacing the fixtures is manageable. If you have any uncertainty about the wiring configuration or the attic-side conditions, this is a reasonable task to hand off to an electrician. Do not attempt to seal around fixtures that are not rated for airtight installation — heat buildup is a fire risk.
Older recessed light fixtures are among the least obvious but most significant air leakage points in a home.
When to Call a Professional
Most caulking and weatherstripping work is well within reach for a motivated homeowner. However, some air-sealing situations involve areas that are difficult to access safely, or that intersect with electrical, plumbing, or structural systems. If you suspect significant leakage through your attic floor, around your foundation sill plate, or near recessed lighting fixtures that penetrate the ceiling, a professional energy auditor can use a blower-door test to measure the home's overall leakage rate and pinpoint problem areas you might miss.
Try a Simple Draft Test First
Before purchasing any materials, do a walk-through on a cold, windy day holding a lit stick of incense or a thin candle near suspected leak points. Watch for the smoke or flame to waver — that movement indicates air movement. Focus on window and door perimeters, outlet plates, and any location where a pipe or wire enters from outside. This low-tech approach helps you prioritize where to start and avoid buying materials you won't use.
Air sealing is also most effective when paired with adequate insulation — addressing one without the other often leaves efficiency gains on the table. If you're noticing persistent comfort issues across multiple rooms, it's worth thinking about both together. Similarly, small household inefficiencies have a way of adding up quietly, whether in home energy or personal finance — a pattern explored in our piece on spending leaks that erode savings. In the home, as in budgeting, the fixes that seem minor individually often deliver the most cumulative impact.