

Key Takeaways
Understanding the Repair Before You Start
Drywall patches fail visibly for one of two reasons: wrong method for the hole size, or rushing the finishing process. Before reaching for spackle, take a moment to assess what you're dealing with.
Small holes (under ¼ inch): Nail pops, picture hooks, and small screw holes fall here. These need nothing more than lightweight spackling compound applied with a putty knife.
Medium holes (¼ inch to 4 inches): Doorknob dents and accidental punches typically fall in this range. A self-adhesive mesh patch or a backing-strip method works well.
Large holes (over 4 inches): These require a California patch or a cut-in drywall piece secured to backing boards or existing studs. This method demands more skill but produces the most durable, seamless result.
Stop If You Spot Moisture or Mold
Water-stained, soft, or discolored drywall signals an active or past moisture problem. Patching over it traps the issue behind the wall and allows mold to continue growing unseen. Identify and fix the moisture source first — this may require a plumber or contractor — before any cosmetic repair begins. If you see visible mold growth, consult a remediation professional before disturbing the material.
If the damaged area shows water staining, soft or crumbling paper facing, or mold, stop and identify the moisture source before patching. Covering wet or mold-affected drywall only hides a growing problem. Consult a contractor if you're unsure.
Similarly, if the hole is near an outlet box or you can see wiring, do not proceed until you've confirmed the electrical components are safe and the circuit is off. When in doubt, call a licensed electrician.
Tools and Materials You'll Need
Having everything staged before you start prevents half-dried compound disasters mid-repair.
Drywall saw or jab saw
Cuts clean openings around medium and large holes for precise patch fitting.
Utility knife
Trims loose paper facing and scores drywall for straight cuts.
6-inch and 12-inch drywall knives
Apply and feather joint compound in progressively wider passes.
All-purpose joint compound
Fills seams, covers mesh patches, and creates a smooth, sandable surface.
Self-adhesive fiberglass mesh patch
Bridges medium-sized holes and provides a surface for joint compound to grip.
Drywall screws and cordless drill
Secures backing boards and patch pieces for large hole repairs.
Sanding block with 120- and 150-grit sandpaper
Levels dried compound to a smooth, even surface before priming.
Drywall primer (PVA primer)
Seals the repaired area so finish paint absorbs evenly without dull spots.
What you will need
Step-by-Step: Patching the Hole
Follow these steps carefully, allowing adequate dry time at each stage. Rushing is the single most reliable way to create a visible seam.
Prepare the Damaged Area
For small holes, use a utility knife to remove any loose paper facing or crumbled gypsum around the edge. For medium and large holes, cut the damaged area into a clean square or rectangle using a drywall saw. Clean, geometric cuts are far easier to patch invisibly than ragged, irregular edges.
Install Backing (For Medium and Large Holes)
For medium holes, adhere a self-adhesive fiberglass mesh patch directly over the opening. For large holes, cut two wooden furring strips or 1×3 boards several inches longer than the hole's height. Insert them into the opening and secure them to the existing drywall edges using drywall screws — these become the backing for your patch piece. Cut a new piece of drywall to fit the opening snugly and screw it to the backing strips.
Apply the First Coat of Joint Compound
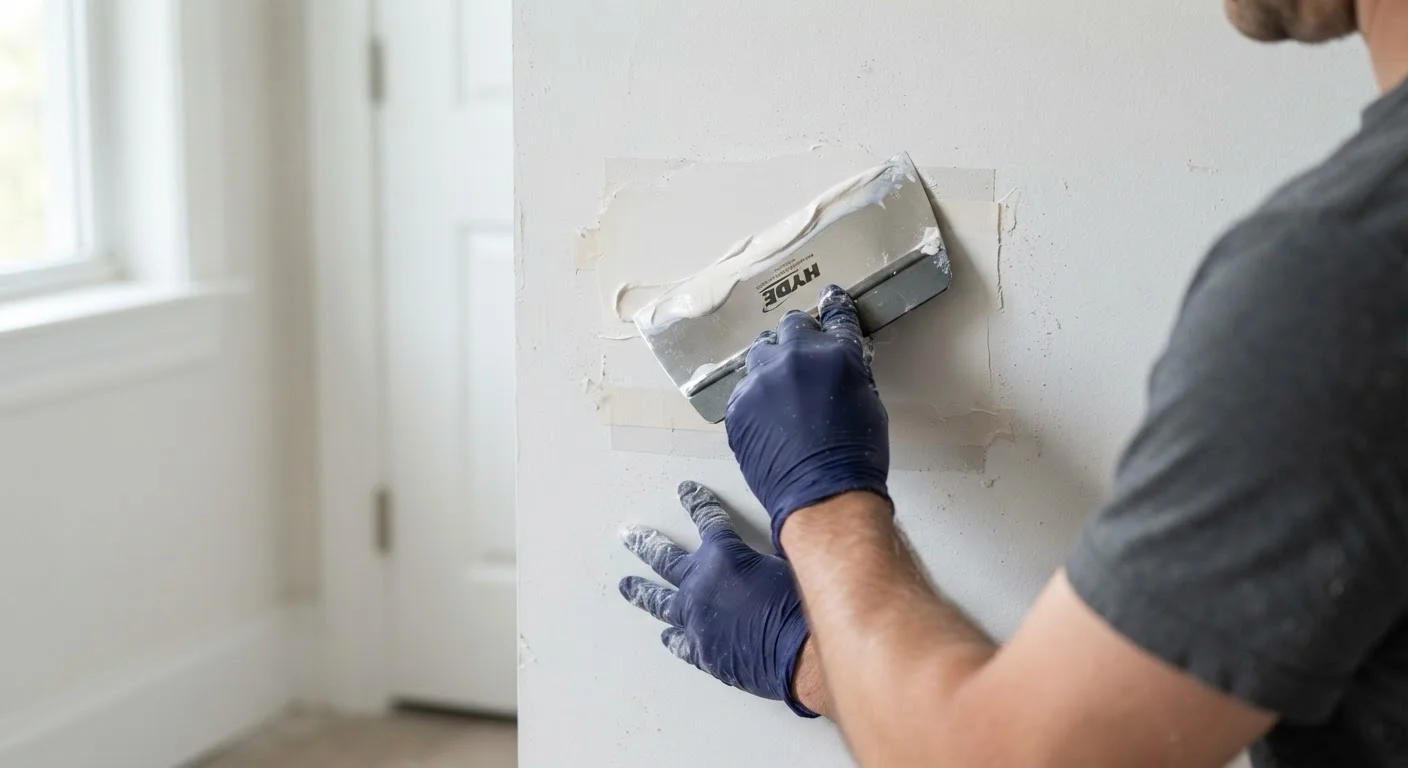
Using a 6-inch drywall knife, apply all-purpose joint compound over the mesh patch or the seams of the new drywall piece. Press compound firmly into the mesh or seam gaps, then smooth it flat. For small holes, a single application of lightweight spackling compound is typically sufficient — skip to sanding once dry.
Feather and Apply Subsequent Coats
Once the first coat is completely dry (typically 24 hours — check that it's uniformly white with no gray wet spots), apply a second coat using a wider 10- or 12-inch knife. Extend this coat several inches beyond the first coat's edges, feathering the compound out thinly so the transition to the surrounding wall is gradual. Allow to dry fully, then apply a third finishing coat if needed, feathering even wider. The goal is a compound layer so thin at its edges that you can barely detect where it begins.
Sand Smooth
Once the final coat is fully dry, sand lightly with 120-grit sandpaper, then finish with 150-grit. Use a sanding block for flat surfaces to avoid finger-shaped dips. Sand in circular motions, applying light, even pressure. Wipe away dust with a damp cloth and let the surface dry before inspecting.
Prime Before Painting
Apply a coat of drywall primer (also called PVA primer) to the sanded repair area. This seals the compound and creates a uniform surface so paint absorbs evenly. Skipping primer is the most common reason a finished patch still shows as a dull or shiny spot after painting. Allow primer to dry per the manufacturer's label, then paint to match the surrounding wall.
Getting a Seamless Finish: Texture and Paint
A flat, primed patch in the middle of a textured wall will catch light differently and still stand out. Matching the surrounding wall surface is the final — and often overlooked — step.
Smooth walls: Once the final sanded coat is primed, a quality interior paint applied with the same roller nap used on the original wall minimizes sheen differences.
Orange peel texture: Apply a light aerosol texture spray from about 18 inches away, let it dry, then prime and paint. Practice on a scrap piece of cardboard first to calibrate the spray pattern.
Skip trowel or knockdown texture: These hand-applied finishes take practice. Thin joint compound slightly with water, apply random overlapping trowel strokes, let it partially set, then lightly flatten the peaks with a clean trowel. Matching an existing texture takes trial and error — accept that a first attempt may need refinement.
Use Raking Light to Catch Imperfections
When all repair work is complete and paint is dry, examine the wall under raking light — hold a lamp at a low angle parallel to the surface. This reveals any lingering ridges or depressions while you still have materials on hand to correct them. It's the same technique professional painters use before calling a job finished.
When all repair work is complete and paint is dry, step back and examine the wall under raking light — hold a lamp or work light at a low angle parallel to the wall surface. This reveals any surface irregularities while you still have paint and compound on hand to correct them.